

Details
Details has three tabs:- Details: the general properties of the administration. See below.
- Financial years: how aiGust has split the administration’s years into periods. See Financial periods.
- Followers: the users who follow the administration.
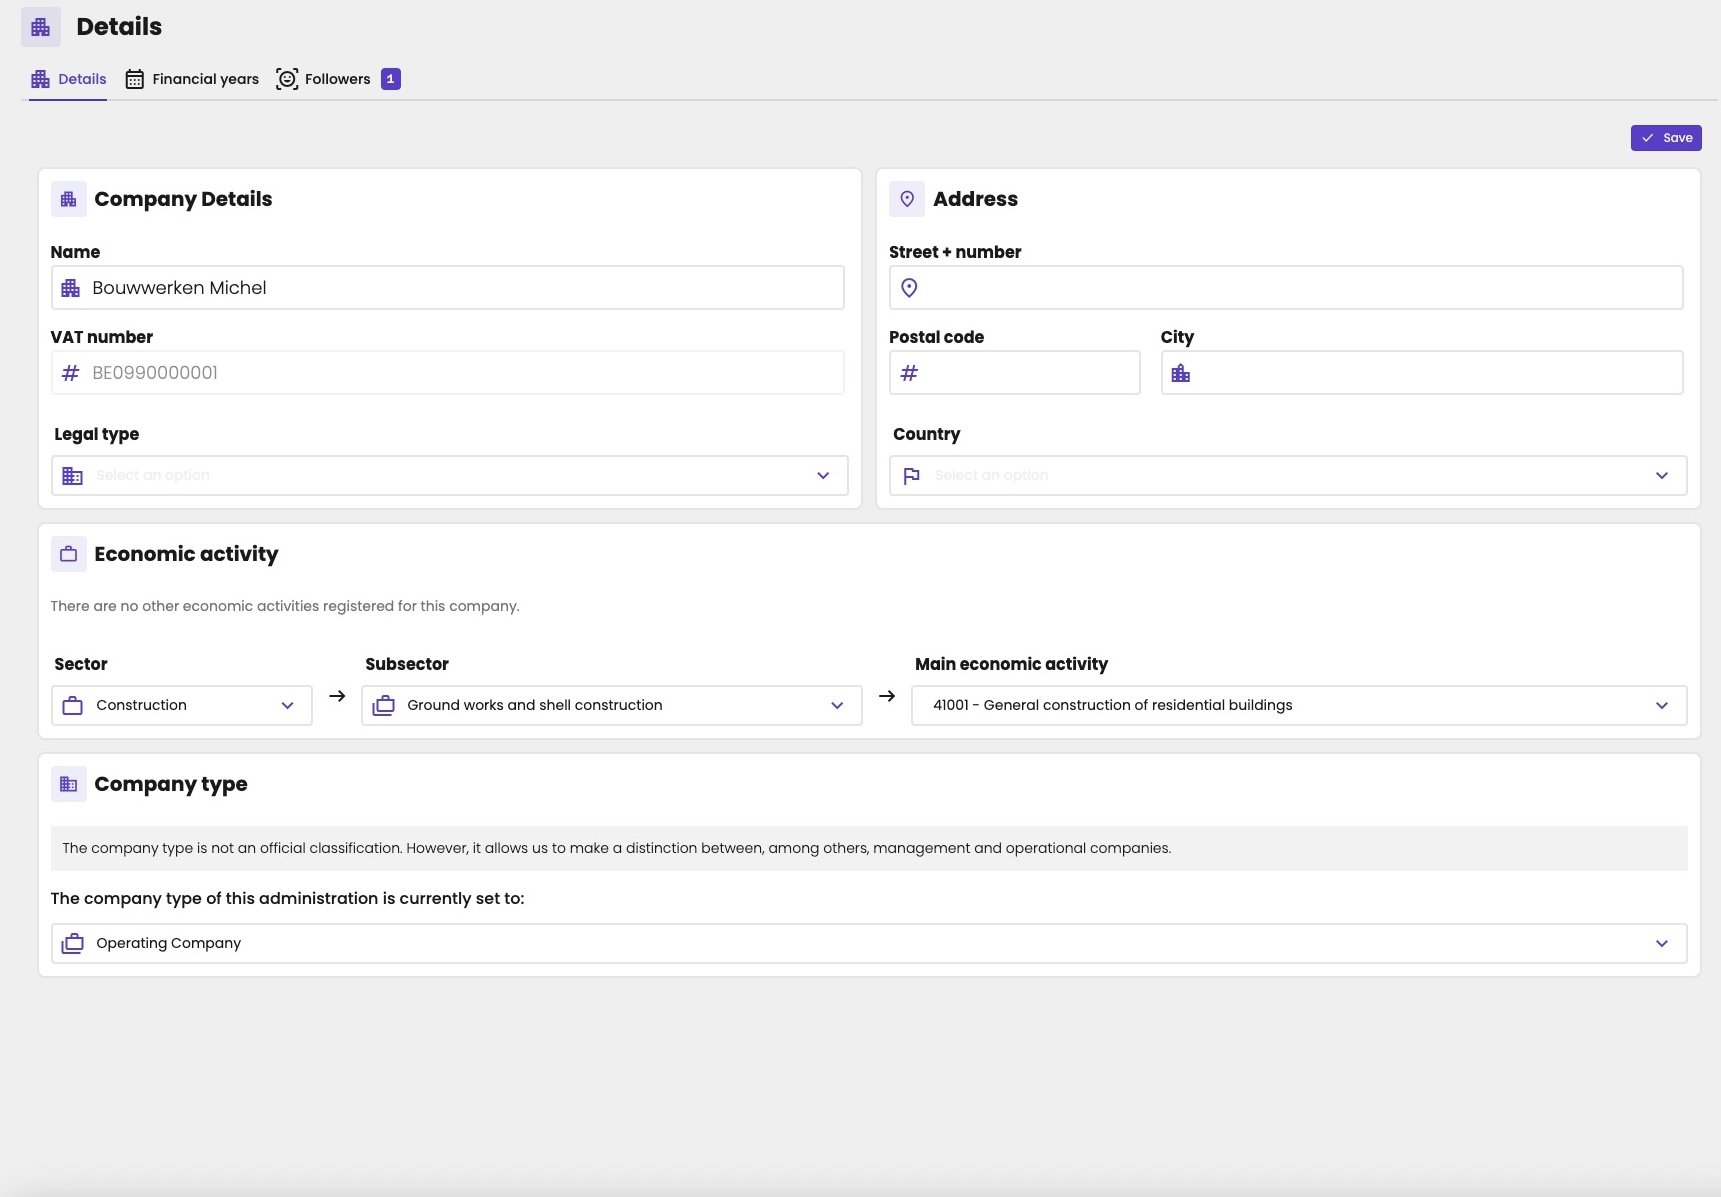
The details of an administration.
For the sector and the company type, see Sectors and company types.
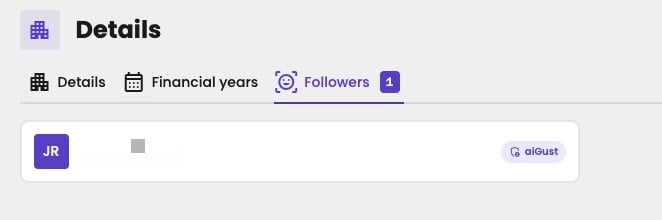
The users who follow the administration.
Branding
Branding holds the logo of the administration, and the branding files it comes from.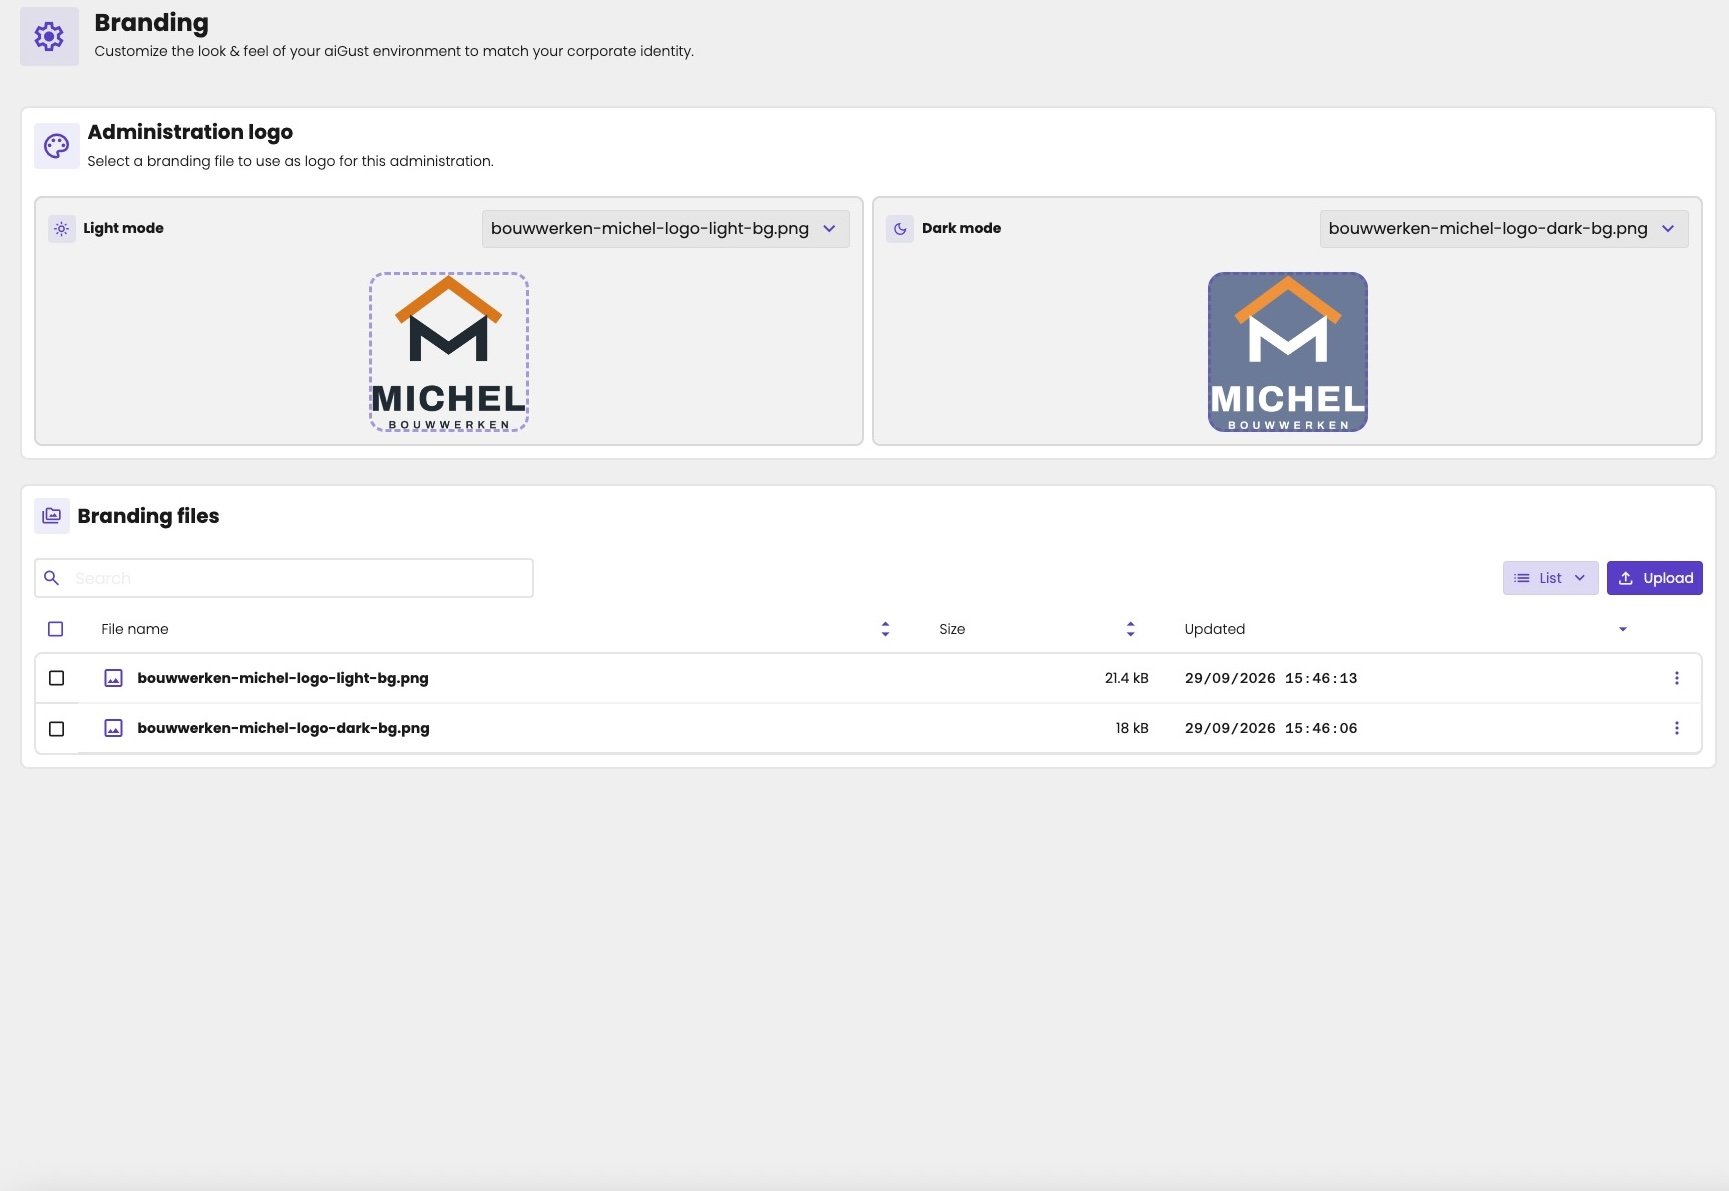
The branding of an administration: its logo and its branding files.
Branding files
The branding files are the images of an administration, such as its logo.- Go to Settings › Branding.
- Under Branding files, click Upload.
- In Upload branding files, select a file, or drag and drop it. You can upload PNG, JPG and WebP files.
- Click Next.
The administration’s logo
- Upload the logo under Branding files.
- Under Administration logo, on the same page, choose a branding file for Light mode, and one for Dark mode. A preview shows how each looks.
- In the list of administrations.
- In the administration menu, next to the administration’s name at the top.
- In meetings, if you turn on Show administration logo. See Your client’s logo.
What makes a good logo
- Square. aiGust shows the logo as a square icon.
- Without a background. Use a PNG or WebP with a transparent background, not a JPG.
- One for each mode. A logo with dark text disappears on a dark background. Upload a light version for Dark mode.